Buy your weekday smoothies and get your weekend ones for free. (7 for the price of 5!)
Worms, Wee, and Wonderful Castings: Start your own worm farm today!
Worm farming is increasing in popularity thanks to growing push for self-sustainability, a consideration for reducing, reusing and recycling materials that would otherwise go to landfill, and educating the next generation of green thumbs.
Worm farms are a fun, easy way to get the kids involved in the garden, whilst reducing your household waste and creating your own liquid gold!
Like composting, there is a lot of great information out there that discuss different ways to set up a worm farm. We have found over the years that this method stands the test of time and aims to reduce the reliance on commercially available products.
Before we get started, we need to learn a little bit about the worms that are going to be working hard in your farm.
Are there different types of worms?
Worms that live in artificial farms are different to the earthworms that you’d find deep in your soil. Composting worms prefer the warm, moist surface environments of compost bins. Don’t let their size fool you; whilst they are typically smaller than the earthworms of your garden, they are voracious feeders, consuming as much as their body weight in scraps each day. They can also reproduce at much faster rates than earthworms, meaning that if you look after them, your farm will be thriving in no time!
Earthworms have bigger mouths that compost worms and can consume larger particles than compost worms. They are larger in their overall size and help to aerate the soil in your garden by creating channels that allow air and moisture to penetrate the soil.
We’re going to focus on starting a worm farm in two of the most conventional ways; a multi layered, commercially available farm and a good, old-fashioned, home-made farm (think of an old wheelie bin or old bath tub in the backyard!)
What you’ll need to get started
Multi-Layered Farm:
- Worm farm kit (where you worms will be stored) either home-made or purchased
- Live worms – you can either purchase these, or maybe ask your green thumb friend first if they had enough to get you started!
- Fruit and veggie scraps
- Used cardboard
- Bedding material such as shredded paper, hay, straw, coconut fibre or rich moist soil
- A hessian sack to be used as a worm blanket (ideal, but not completely necessary)
Single-Level Homemade System
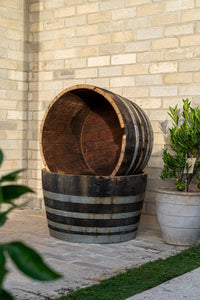
- Larger container (wheelie bin, bath tub, concrete trough)
- A suitable lid
- Tap point installed onto the bottom of the container
- Live worms – you can either purchase these, or maybe ask your green thumb friend first if they had enough to get you started!
- Fruit and veggie scraps
- Used cardboard
- Bedding material such as shredded paper, hay, straw, coconut fibre or rich moist soil
- Grass clippings
- Scoria rock (or other suitable drainage material)
- Timber planks (enough to cover the surface area of your container)
Getting started:
Finding a location
You will need to set up your worm farm in a cool, sheltered location that is not in direct sunlight and is sheltered from strong winds. Additionally, you do not want your farm in a spot that will be constantly damp and may become too cold in winter. Consider a location that is close to your kitchen or council waste bins, if possible.
If using a multi-layered kit
Assemble your kit and place your used cardboard in the tray that is second from the bottom. The base level will become your collection tray, where your worm wee will be collected.
You can fill your tray half way with bedding material, and if using dry materials dampen with water to create a moist environment. You can use whatever combination of bedding materials you have available, such as a few handfuls of garden soil, shredded paper and compost.
Empty your live worms into the bedding material as they will need a place to get comfortable initially.
Place a few handfuls of veggie and/ or fruit scraps onto the bedding material once the worms have to began to burrow down. Do not overfill the tray initially, as you will need to monitor that rate at which your scraps are being composted.
If you have a hessian blanket, place this on top of the pile, cover with a lid and let the worms go to work!
Maintaining your farm
Your worms will need regular monitoring, especially in the first few weeks. As your worms start to break down the food scraps, you will need to top up and increase the amount of scraps you are introducing to the farm.
Once your middle tray is full, you can begin filling the top tray with scraps. You can introduce a few handfuls of bedding material into the top tray along with the scraps. Over time, the worms will work their way up from the full middle tray into the top tray and begin to process those scraps. Make sure you are cutting up the scraps, as small as possible, to assist your farm with easier processing.
Check the bottom tray for your worm wee!
After a few weeks, your worms will have processed enough scraps and started to produce what we call ‘worm wee’, which is a wonderful liquid fertiliser that will do wonders in your garden. It’s important to empty the worm wee from the bottom tray regularly. If you find there are some worms getting stuck amongst the bottom tray and getting caught in the liquid, you can cut up and use an old stocking to line the middle tray, so worms can’t get through the small plastic holes, but liquid can still drain.
If using a homemade single layer system
Install a tap towards the bottom 50mm of your container (this will be how you will eventually harvest your worm wee) and ensure the container is sloped towards your tap for more efficient harvesting. You will be able to find a tap that suits your container at your local hardware store, and you may need to use rubber seals or silicone to ensure it is water tight.
Install 100mm of scoria rock to the bottom layer of your container.
Lay your timber boards or planks on top of the scoria to cover the surface area of the container to create a ‘floor’.
Install a 100-150mm bedding layer of materials across the timber board floor, you can use a combination of materials, just ensure they are damp if combining with shredded paper.
Spread your live worms evenly across the bedding layer and then cover lightly with damp shredded paper/ cardboard.
Install a layer of fruit and/ or veggie scraps on top of the shredded paper, no more than 50mm thick.
If available, install a 50mm thick layer of grass clippings as this will act as a great insulator during the initial stages. Once your worm farm has established itself, you do not need to maintain this grass layer.
Place the lid on top and monitor regularly in the initial stages.
Harvesting your worm castings
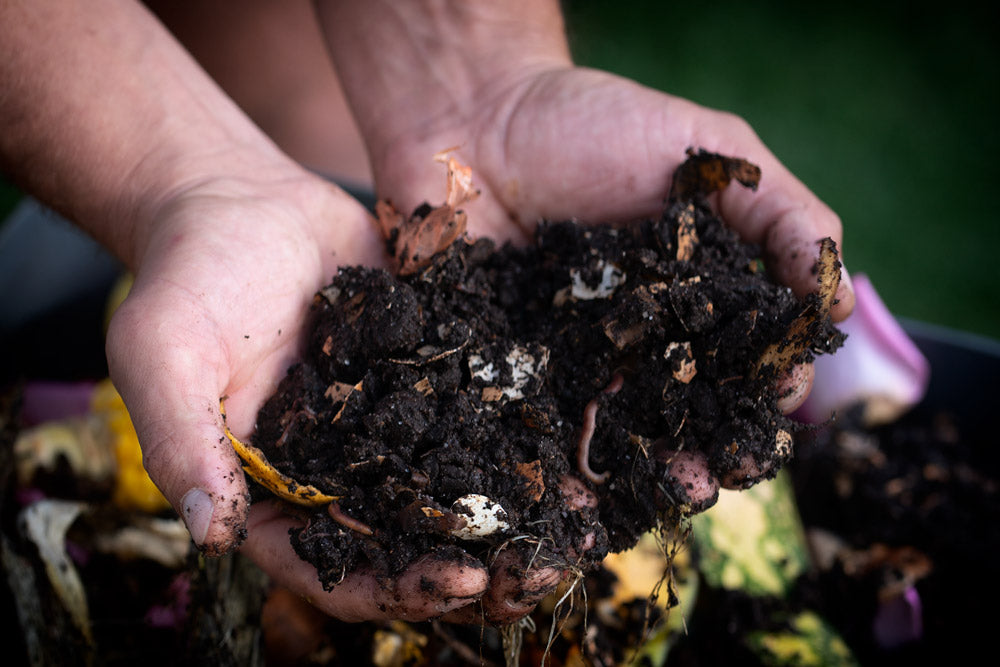
Once your worms have settled and begun processing the fruit and veggie scraps, you will be able to collect the wonderful worm castings. Castings are the moist, rich, dark brown, compost-looking material that you’ll find in your farm (think of it as worm poo!). It can be used as a solid fertiliser, starter for your seeds and seedlings, and can even be diluted for even more liquid gold.
On a mild day, remove the lid and expose the worms to the elements for at least half an hour. The worms will move their way down into the farm pile, so with your hands or a small trowel you can slowly begin to scrape a small amount of castings into a bucket. Scrape thin layers and be vigilant to watch for any remaining worms that have yet to make their way down into the pile. If you scoop some up, gently place them back into the pile and return the lid at the earliest opportunity.
Once you have collected your castings, you can dilute a few handfuls in a bucket of water which will create a wonderful ‘tea’ that can be used on your veggie garden. The castings are made up of all the wonderful microbes that your worms have processed.
Using your worm wee and castings tea
Checking your farm regularly for the accumulation of worm ‘wee’ is important to ensure there is not a large amount of liquid collecting in the bottom of the farm. With a container placed directly underneath, open your tap to check if there is anything ready to harvest.
When using the wee on your garden, make sure you are diluting well in a watering can or bucket. Using a ratio of 1:20 initially (1 part worm wee, 20 parts water) use a small amount on your desired plant. We recommend using small, diluted amounts for the first few applications to test to see if your plants respond well to the fertiliser. If applied too strong of a ratio at the beginning it may harm or kill your plants, as it is too rich! This is why we recommend testing in weaker concentrations to begin. Once you have confirmed that your plants are responding well, you can apply small amounts fortnightly or as required.
Things to avoid:
Placing large scraps in your bin
While they do have a wonderful appetite, your worms can be lazy, and prefer to have a lot of the hard work done for them. By cutting up your scraps into smaller pieces, no bigger than a 20 cent coin, it will allow for faster processing.
Any animal products, oils, sticks, leaves and processed food scraps
Worms prefer soft, small fruit and veggie scraps, and introducing anything else could result in unwanted pests making their way into the bin, such as maggots and slugs, and mouldy green waste that won’t be broken down by your worms.
A large amount of citrus
You may have heard that citrus should not go into a worm farm or a compost bin, however we have found that a healthy worm farm can tolerate citrus in small amounts, and provided they are cut into fine pieces. If you choose to introduce citrus to your farm, monitor its first few weeks, if you notice that all the other scraps have been eaten, but not your citrus scraps, it may be best to hold off for a few more weeks to allow your colony to build up.
If you have any questions, please feel free to get in touch with us to see how we can assist you in creating the best worm farm possible!
